Presentation
Video
Making Your Very Own CSS Art Animation
 AlanikREDAWN
This jam will take you through creating a simple animation using just plain HTML and CSS, no JavaScript at all! It will also provide the foundational knowledge that you need to continue to expirement and create your own animations.
Step 1: Create the framework
The first thing you need to do is to create the bare bones of your project. Start by putting this code into your .html file (this code is the starting point for every html file)
<!DOCTYPE html>
<html>
    <head>
        <meta charset="utf-8">
        <meta name="viewport" content="width=device-width, initial-scale=1">
    </head>
    <body>

    </body>
</html>
Step 2: Make some divs
The next step is to make a div (or more). You can create as many as you want. You are going to want to put them in the body tags, like this:
    <body>
        <div></div>
        <div></div>
        <div></div>
    </body>
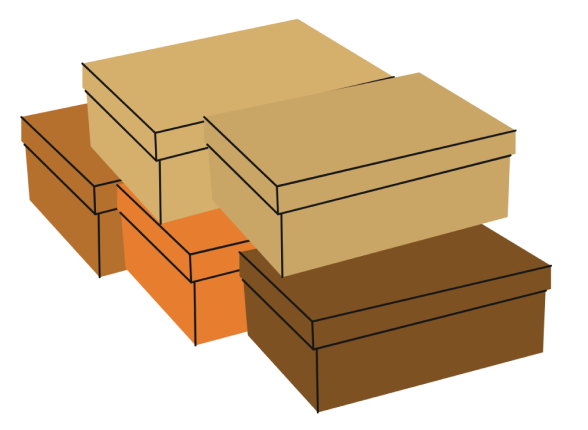
Now, you may be wondering, "What exactly is a div?" Well, I'll tell you. A div is a kind of container; you can store things in it, and you can put it within a bigger container. Think of it like a shoebox, and think of your page as the space under your bed. You can put smaller boxes inside the shoebox, and you can position your shoebox wherever you want under your bed. You can also put more then one shoebox under your bed, as many as you want, really.
Step 3: Add some style
Right now, we can't see anything. Our divs are invisible! That's becasue they're lacking style!
There are multiple things you can do to style a div. First, we need to get some setup out of the way.
In order to style our divs, we are going to use something called CSS. CSS stands for...well, what do you think it stands for? Go ahead, take a guess! Have fun with it!
Now, before we start customizing our divs, we need to get some basic setup out of the way by assigning a class to our div. By assigning a class, we allow the CSS file to communicate with our divs in our HTML file.
To assign a class to a div, simply put class="classNameHere" inside the div tag, like this:
<div class="className"></div>
You can name your class whatever you want, but make sure that it's something that makes sense. For example, if you want your final div to look like a circle, you should probably not name the class "square."
Now that you've added a class name to your div, you need to apply some styles to it! First, open up your .css file. Next, you want to type .className, replacing "className" with the name of the class you assigned to your div. Then, put a pair of curly brackets:{}, then press enter. What you have should look something like this:
.className {

}
We're now going to put our styles within those brackets. What you put depends on what you want your final div to look like
Step 4: Animate it
Now it's time to actually add some animation!
In your .css file, below (or above) your class, put the @keyframes rule, followed by whatever you want to name your animation, and then a pair of curly brackets (just like with our class).
Now, we're going to create 4 frames for the animation to transiton through. To do this, put 0%, 25%, 50%, and 100% each seperated by a new line and followed by a pair of curly brackets.
When you're done, it should look something like this:
@keyframes animationName {
    0% {

    }
    25% {

    }
    50% {

    }
    100% {

    }
}
For our animation, we are going to move our divs across the screen and enlarge it. You can make yours move in whatever direction you like and you can make it expand as big as you want.
Inside the curly brackets next to 0%, we are going to create our first frame. This will establish our starting position.
First, use the left and top properties to position your div wherever you want.
Next, use the width and height properties to set the size of your div.
It should look something like this (remember, the numbers should be your own, do not copy mine):
0% {
    left: 200px;
    top: 600px;
    width: 100px;
    height: 300px;
}
Now we are going to repeat the process for each frame, except we need to change each of the values for each one.
Step 5: Add the animation in
Now that you've created an animation, you still need to tell your div to run it. To do this, we use the animation-name property, and we set it to the name of the animation that we just created. Then, we need to specify how long we want the animation to run for using the animation-duration property. It should look something like this (make sure that you change animationName to the name of your animation and # to the number of seconds you want it to run for):
.styleName {
    your styles here

    animation-name: animationName;
    animation-duration: #s;
}
There are also other properties you can use to customize your animation futher. You can find them in this documentation.
Tada!! You just made your very own animation with just CSS and only a little bit of HTML!!
Congratulations! 🎉 🎉 🎉Share your final project with the community